Updated on November 1, 2019
How to create Bootable Android USB Drive
[*]
These are the instructions to create Bootable Android USB Drive using the Universal USB installer on Windows Computer.
Requirements: You need to have a pen drive with at least 8gb of space and which supports bootable option on Windows Computer.
Create Bootable Android USB Drive
Step 1: Download (x64 bit) or Download (x86 bit) and extract Android iSO on your computer. After extracting you will be able to see the following files:

Step 2: Download and extract Universal USB Installer on your Computer. After that, Open Universal USB Installer.

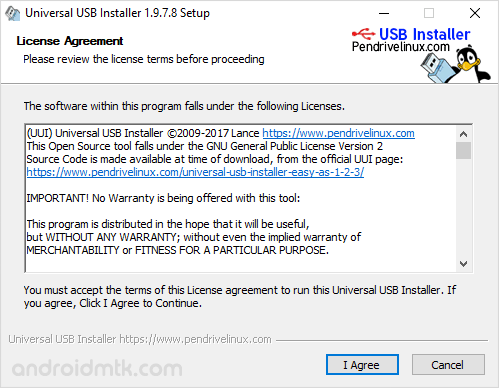
Step 3: Once Universal USB Installer is launched, you will be able to see the following screen:
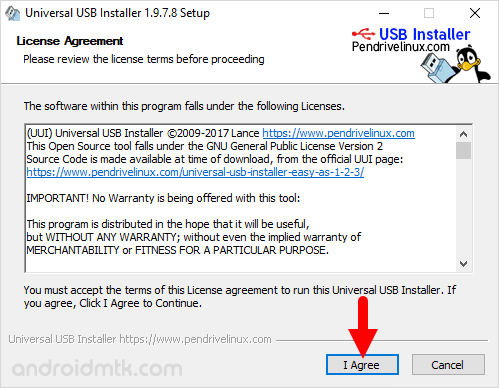
Step 4: Now, Click on I Agree Button to continue.
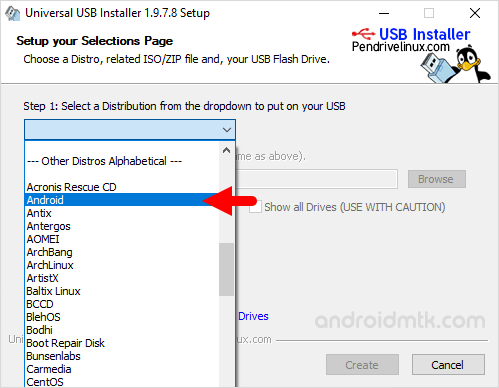
Step 5: Now, Under Select a Distribution Option, choose Android.
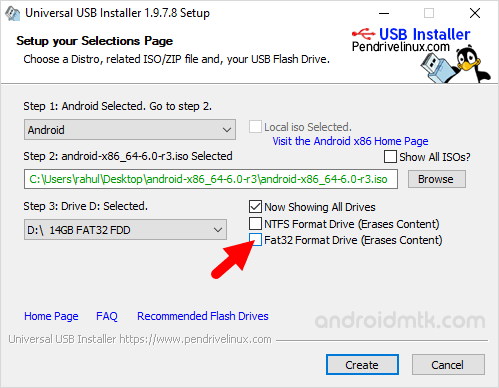
Step 6: Now, Click on the Browse button and locate the Android iSO (which you have downloaded in Step#1).


Step 7: Now, Connect your Pendrive to the Computer.
Step 8: Now, Select your Pendrive.

Step 9: Now, Tick We will Fat32 format.
Step 10: Now, Click on the Yes button to Confirm.

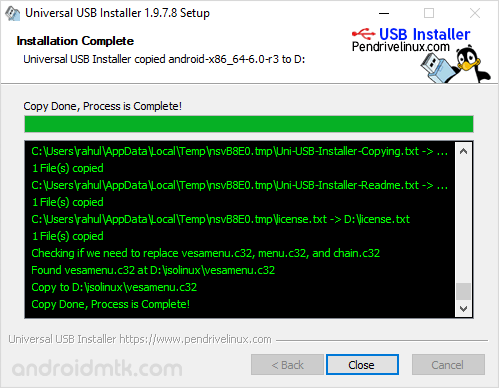
Step 11: Now, Wait for few minutes to get your Bootable Android USB drive ready.
Readme Once:
[*] How to Choose iSO? If in case your Windows Computer is running on 32 Bit then download x86 bit iSO file and if your computer is a x64 bit then download x64 bit iSO file.
[*] Bootable Android USB drive can not be used to install the Android package as your Computer. If in case you want to use the Android OS, then you must connect the pen drive to the computer.
[*] How to Boot? If in case you are using any Windows computer, then you must set the boot priority to Pen Drive through your BIOS.
[*] Credits: Universal USB installer is created and distributed by pendrivelinux.com. So full credits goes to them for sharing the application for free.


